


How Easy Is It To Install Rubber Playground Tiles?
Simplify Your Life with Easy Installation of Playground Rubber Tiles!
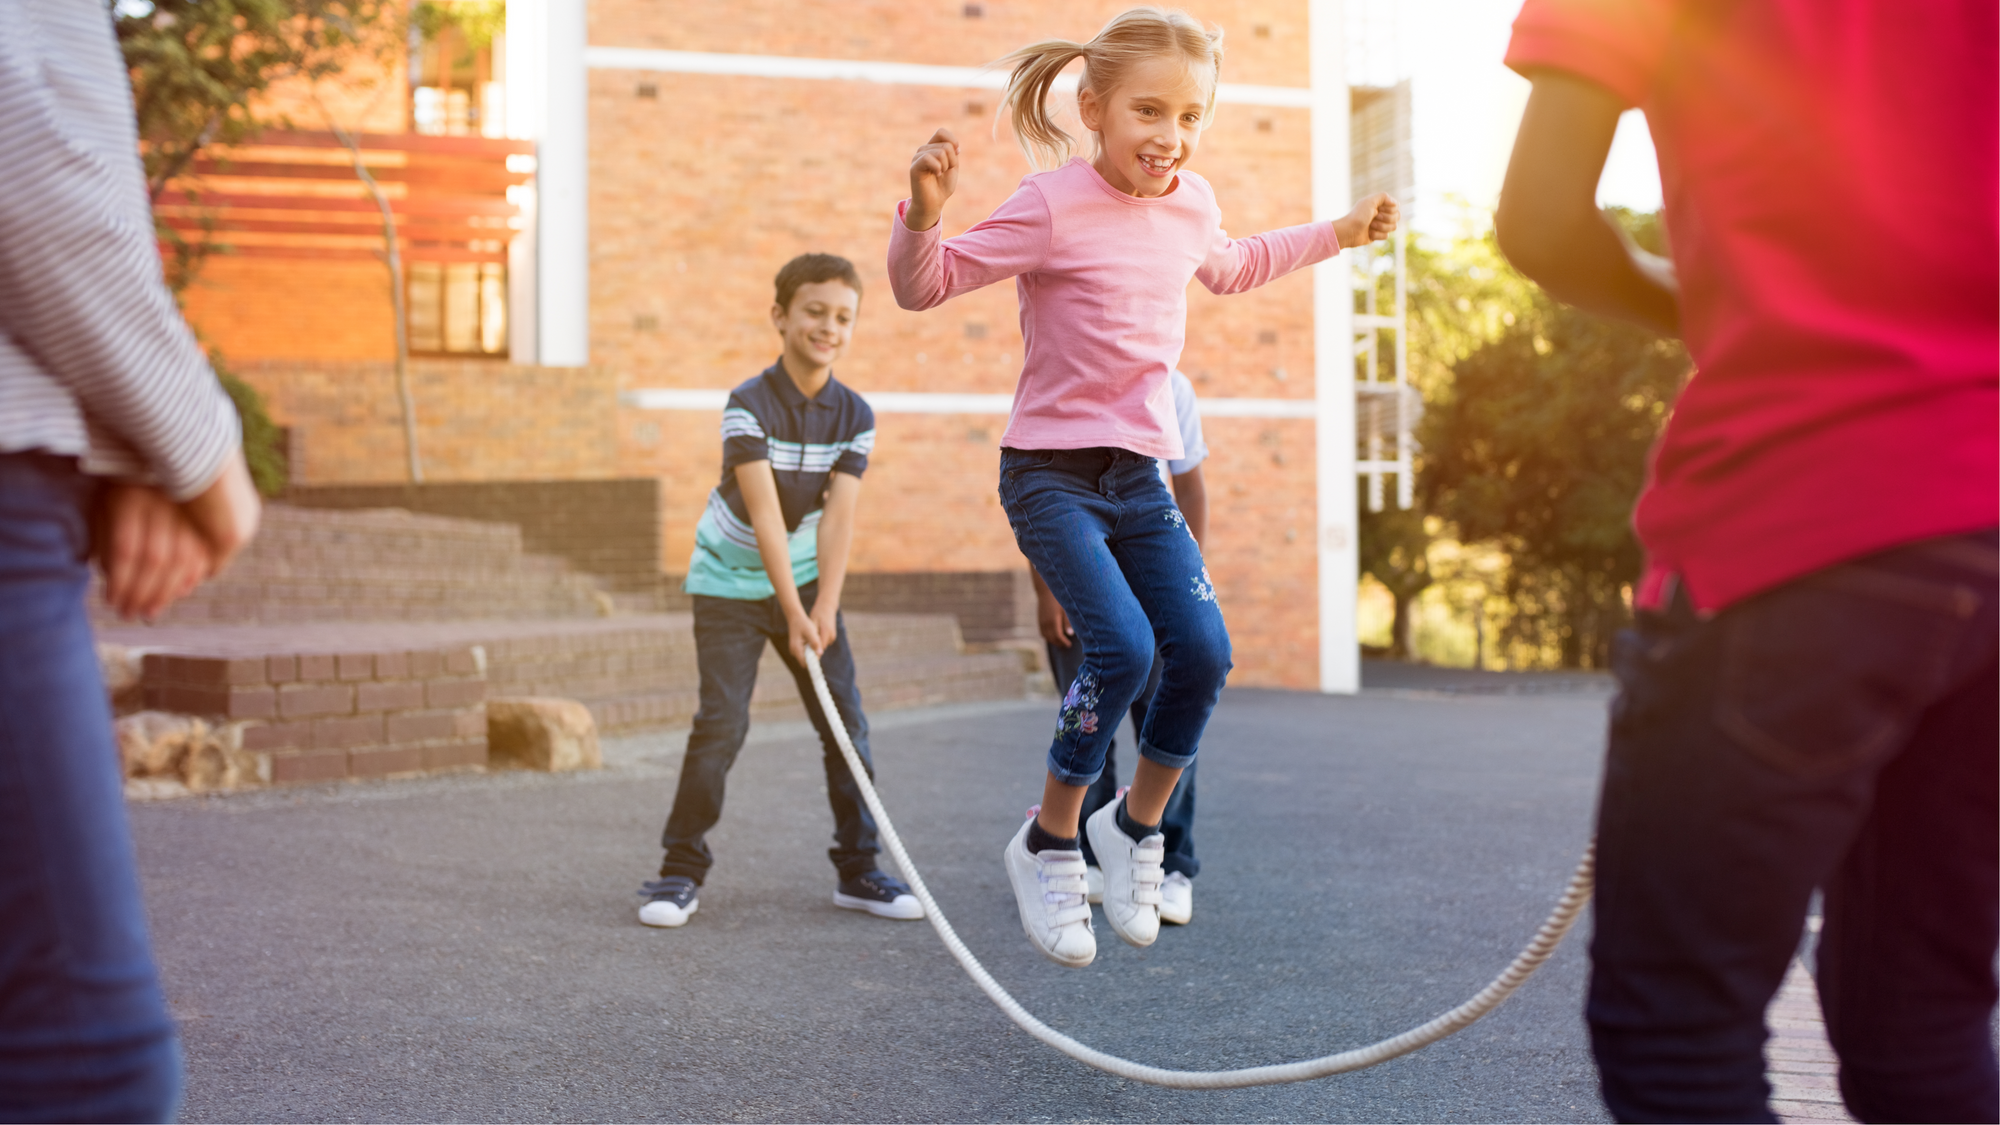
Rubber playground tiles are the ultimate solution for safe and versatile ground coverage, whether you're indoors or outdoors. They provide the ideal surface not only for playgrounds but also for pathways frequented by both seniors and toddlers. Offering superb traction and cushioning to protect against falls, these tiles are a breeze to clean and maintain. But what about the installation process? Let's dive into the straightforward steps to get your playground rubber tiles in place.
Step 1: Surface Preparation Ensure the surface to be covered with rubber tiles is clean, level, and free of debris. Take the time to sweep, rake, smooth, or even install a fabric weed barrier if necessary.
Step 2: Gather Your Materials Gather your interlocking playground tiles, ensuring they're in good condition. These tiles typically come with plastic pins for connecting, so have those ready as well. Having a rubber mallet on hand will significantly speed up the installation process.
Step 3: Align the Tiles Lay the rubber tiles on your desired surface with the waffle-patterned side facing down. Ensure that the interlocking edges and connecting holes are properly aligned with the next tile.
Step 4: Insert the Pins Insert the plastic connector pins halfway into the holes in the tiles.
Step 5: Press the Tiles Together Press the tiles together firmly until the connector holes and protruding pins are perfectly aligned.
Step 6: Lock the Tiles Together Use a rubber mallet to gently tap the playground rubber tiles into place, ensuring each one is securely locked together.
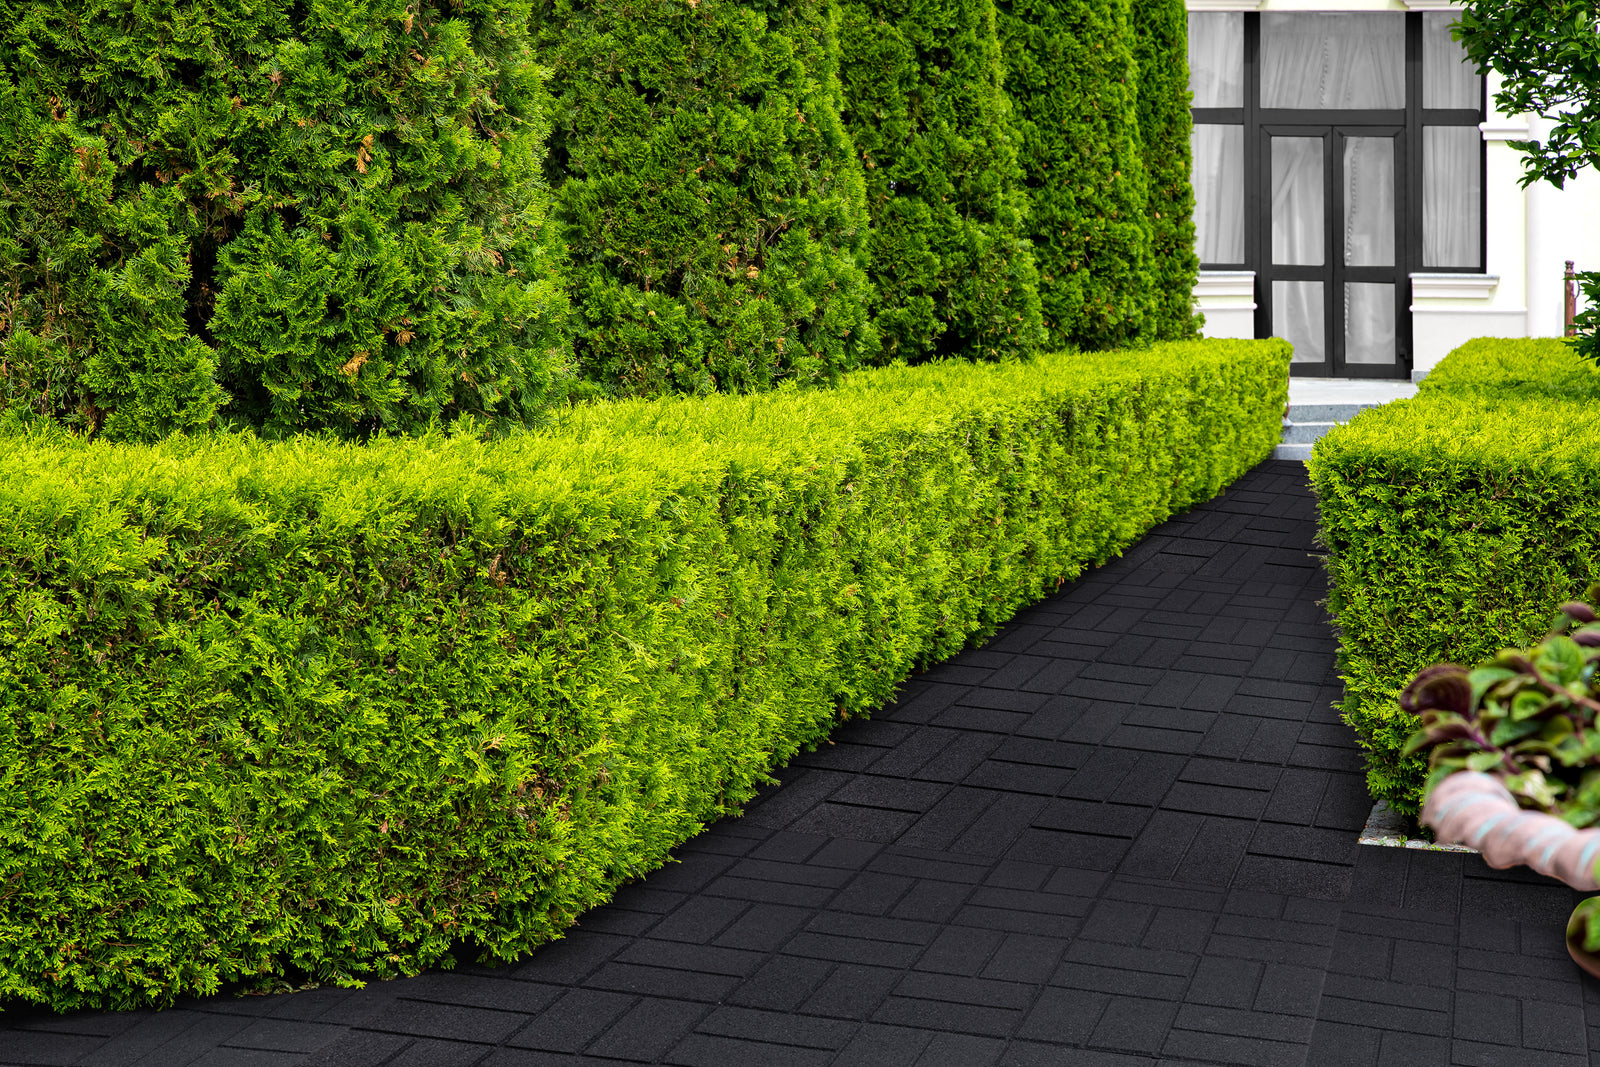
Step 7: Repeat Until Complete Continue these steps for all the tiles until the entire area is sufficiently covered. Take a moment to inspect your work, ensuring the tiles are laid out smoothly and evenly, with no protruding edges or pins that could pose a tripping hazard. To give your area a polished finish, consider adding your preferred borders and edging materials.
Installing rubber playground tiles has never been easier! Create a safe, resilient, and attractive surface for play and leisure with minimal effort. Enjoy peace of mind knowing you've chosen a flooring solution that's as easy to install as it is to maintain. Elevate your space today with the simplicity and durability of rubber playground tiles!
How easy is it to install rubber playground tiles?
Installing rubber playground tiles is an incredibly easy process that can be completed by most homeowners without any prior experience. The interlocking design allows the tiles to seamlessly connect together to form a uniform surface. All that's required are basic tools like a rubber mallet. The straightforward installation can be broken down into just seven simple steps:
What type of surface preparation is required?
Proper surface preparation is key to ensure the tiles lie flat and even. Be sure to thoroughly clean and sweep the installation area to remove any dirt, leaves, sticks or sharp objects. Use a rake to smooth out any uneven spots or divots. For outdoor installs, a fabric weed barrier placed beneath tiles can prevent grass and weeds from peeking through.
What materials do I need to have on hand?
The essential items needed include the rubber tiles, connector pins, and a rubber mallet for tapping the tiles together securely. Make sure to have borders or edging materials if you want a polished, finished look. Verify all tiles are in good condition with no cracks or defects. Sort tiles that are similar in size and shape near one another for easier assembly.
How should the tiles be laid out?
Always install the tiles with the waffle-patterned side facing downwards onto the base surface. Align the interlocking edges carefully with connector holes lined up to the adjacent tiles on all sides. This allows the insertion of the connector pins that link each tile together. Leave no uneven gaps or overlaps during the alignment process.
What is the process for actually connecting the tiles?
With the tile alignment set properly, simply insert the connector pins halfway into the pairing holes on adjoining tiles. Firmly press the tiles together by hand or with a rubber mallet until the pins are visible protruding evenly from both blocks, creating a tight friction fit. The pins can then be tapped flush using the mallet to secure them in place.
How long does a typical install take?
Thanks to the ingeniously easy interlocking system, most installs of a few hundred square feet can be completed by a single person in just a few hours. Simply repeat the alignment, pin insertion and tapping process tile-by-tile until the whole area is covered seamlessly. Periodically inspect for any uneven tile spacing, disconnected pins or lips between blocks that could pose tripping hazards if overlooked.
Overall, rubber playground tiles enable creating safe, comfortable recreational spaces with minimal installation effort or expertise required. Their ease of assembly makes them a DIY-friendly option for homes and commercial facilities focused on safety and versatility.
Check out our Rubber Tiles now.

Also in Rubber Mulch Blog

Effective Mold and Fungi Prevention: The Hidden Value of Rubber Mulch

Create Your Own Sensory Path with Rubber Pavers


Install Rubber Pavers for a Garden Pathway Makeover!
shop
Copyright © 2025 RubberMulch.com - All Rights Reserved.