


Thinking of Installing Rubber Mulch?
Here’s what to expect.
You’ve finally decided to go with rubber mulch as the best material for your outdoor project. A smart choice due to its incredible qualities including durability, life span, maintenance, and good looks. But these are just a few of the many benefits of recycled rubber. Lucky for you, eco-friendly rubber mulch is also easy to install! Let’s explore what you’ll need to know before you get started.
Plan where to install rubber mulch.The first step in installing rubber mulch is deciding where to install it by assessing the area you want to cover and its purpose. Are you enhancing your landscaping or installing it in a playground for playground safety? What is the area’s size and shape? For example, you may want a square, oval, circular, or unconventional shape or pathway.
Depending on your chosen purpose and location, proper drainage and additional upkeep may be a factor. For example, you may need a drainage system to avoid water pooling, maintain plant health, and preserve the mulch’s lifespan. Survey nearby trees or bushes that may require additional maintenance due to unwanted future debris from trees and bushes.
Tip: As you plan, use stakes to help you outline your area’s parameters. If you plan to install rubber mulch in a public playground area, seek the advice of a well-versed consultant in area topography, climate, and state and local laws.
Prep the area for installation.Once you have chosen where your shredded rubber mulch will be installed, it’s very important to prep the area for the best results. So, gather your garden tools including a rake, shovel, wheelbarrow/cart, spade, hose, and garden shears.
Begin prepping by killing and removing any weeds. Also remove other unwanted debris with a rake to clear away organic materials like seeds, sticks, and leaves. Trimming any nearby greenery will help reduce the amount of organic debris from trees and bushes. It’s also important to remove any grass, stumps, wood mulch, gravel, and rocks.
If you are installing recycled rubber mulch in your garden, you’ll want to cultivate (turn over) the soil to allow moisture and air to enter the soil more easily. Be sure to smooth out your soil for a more even look. To keep your mulch in place, install borders around your mulched area for a clean, sharp look.
Before installing your mulch, it’s important to lay down a weed barrier fabric to keep your mulch separated from the soil and mitigate weed growth. Cut the fabric around obstacles as you place the fabric down for a tight fit.
Tip: To maintain safety performance, do not install rubber mulch over asphalt or concrete without proper preparations.
Calculate how much mulch you’ll need.Knowing just how much you will need requires measuring the area. First, determine the depth and thickness you’re planning to install. For a landscaping project, 2 to 3 inches deep is typical, while commercial playgrounds can be up to 6 inches in depth. Start by measuring the length and width of your area, determine the desired layer depth, and calculate the volume.
Note: The basic formula to figure the cubic yards of rubber mulch for a square area: add the length, width, and depth to determine your total cubic feet.
Tip: If doing math in your head is not your strong suit, this calculator will prove to be your best friend.
Determine the cost.Price will also play an important role in choosing the right material for your project. Determine how much you want to invest—especially if you are on a budget. Shopping around to compare prices, quality, lifespan, durability, and value should be included in your estimate of what you’re willing to spend versus the overall cost. For example, recycled rubber requires less maintenance than organic materials and lasts longer.
Tip: Buying direct from the manufacturer, like Rubbermulch.com, will also prove to be highly cost-effective.
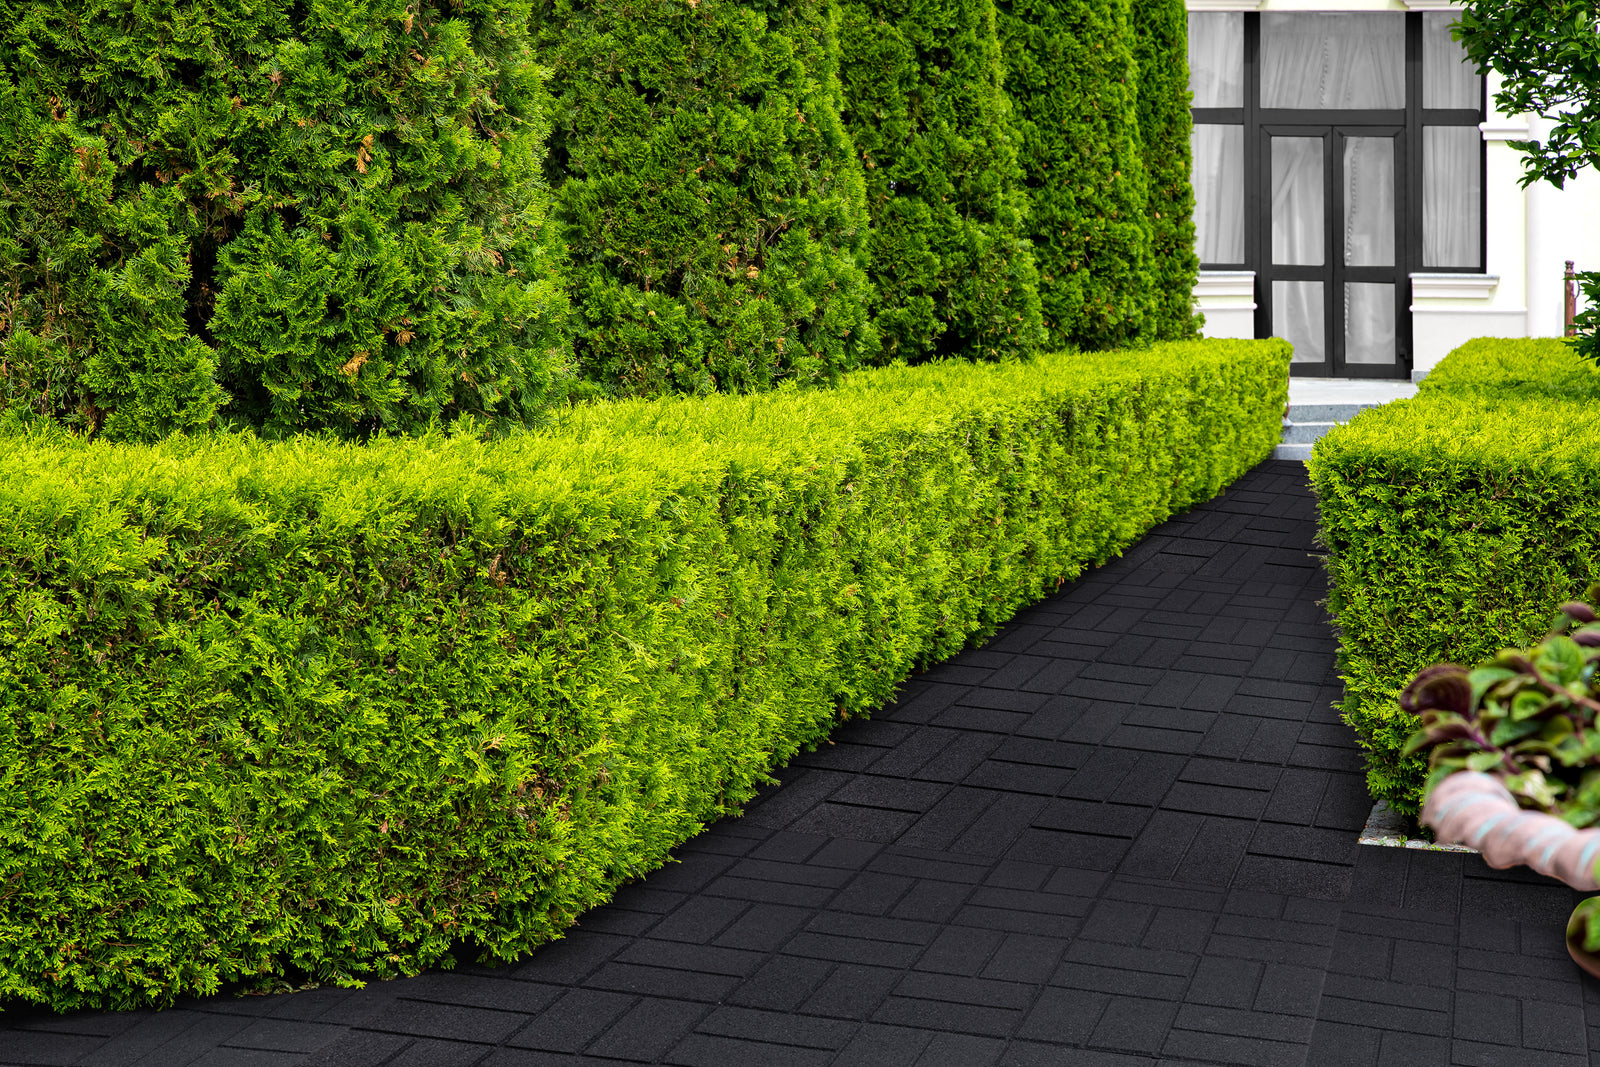
Lay down your layer of mulch!Okay, so you prepped and measured—now what? It’s time to lay down your rubber mulch. After laying down your landscape fabric with a snug fit and 4-inch overlapping seams, uniformly pour your recycled rubber as the top layer according to the desired depth.
Rubber mulch requires a slight distance from trees and other woody bushes and plants. Spread the mulch evenly by using a rake and then water lightly. This will help the material settle nicely.
Tip: Be sure to rake and compact your area surface before adding your fabric and pouring the mulch to ensure a consistent depth throughout.
Enjoy your handiwork!Once you’re finished installing the rubber mulch, it’s time to sit back and enjoy the beauty of your finished project. Whether you’ve installed it in a garden, pathway, or playground, take a moment to remind yourself of the reduced maintenance requirements and longevity of your smart choice. But most of all, have fun!


Also in Rubber Mulch Blog

Effective Mold and Fungi Prevention: The Hidden Value of Rubber Mulch

Create Your Own Sensory Path with Rubber Pavers


Install Rubber Pavers for a Garden Pathway Makeover!
shop
Copyright © 2025 RubberMulch.com - All Rights Reserved.